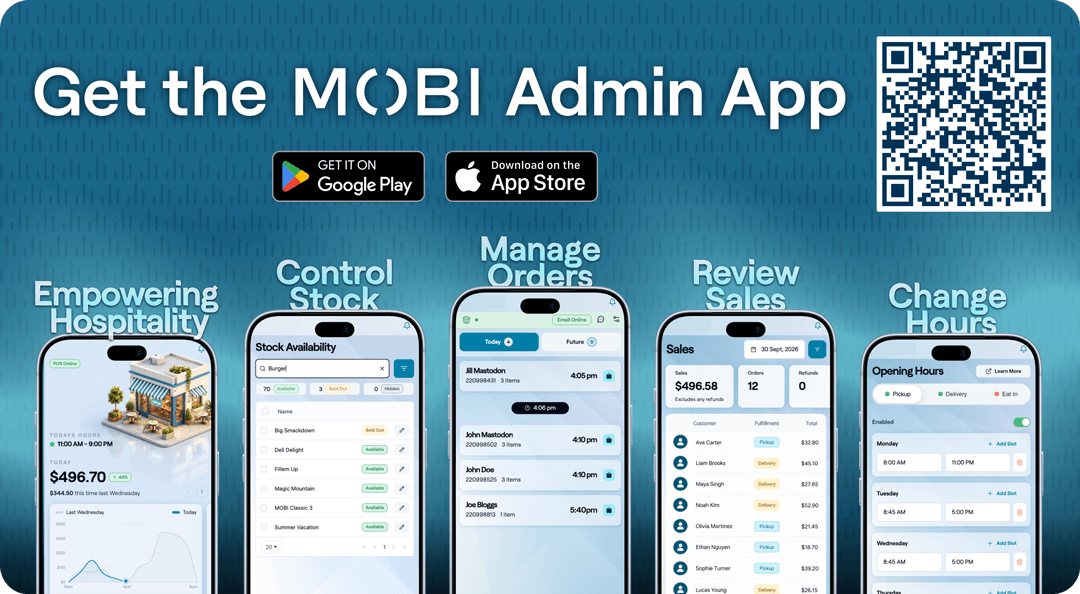
Do this in the MOBI Admin App
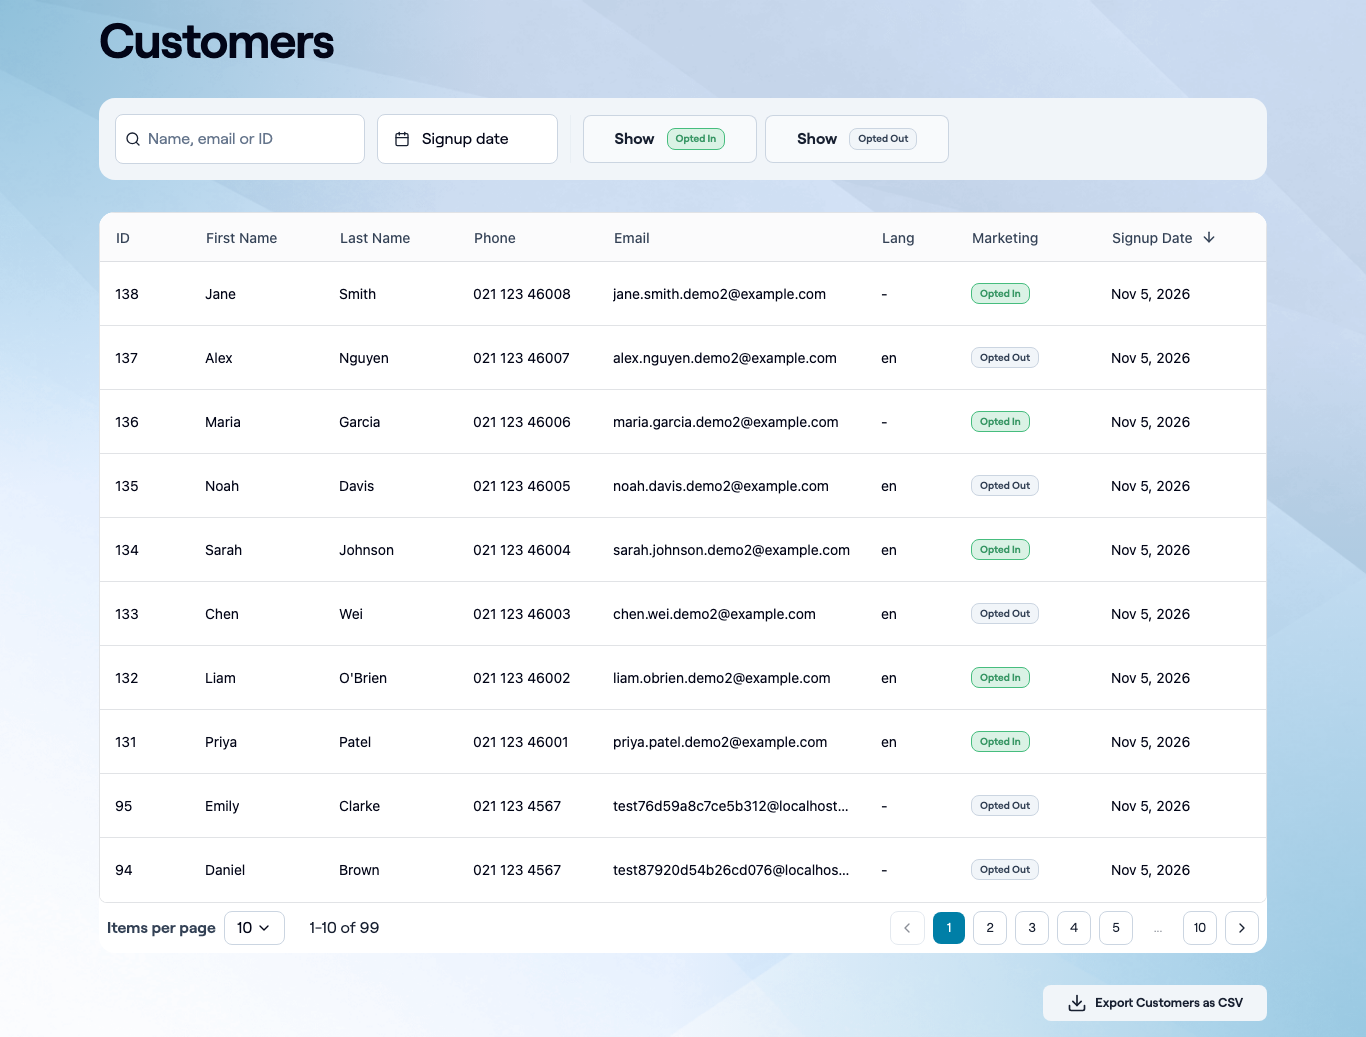
The Customers list shows everyone who has an account with your business across all your locations. On a tablet it has the same full feature set as desktop Admin. On a phone, it's shown as a simpler list of cards.
- Open Customers from the MOBI Admin App.
- Use the search field to find a customer by name, email, or ID.
- Use Show Opted In or Show Opted Out to filter to customers who have (or haven't) opted in to marketing.
- Filter by signup date if you only want customers who signed up in a certain period.
- Select a customer to see more detail about them.
On a tablet:
On a phone:
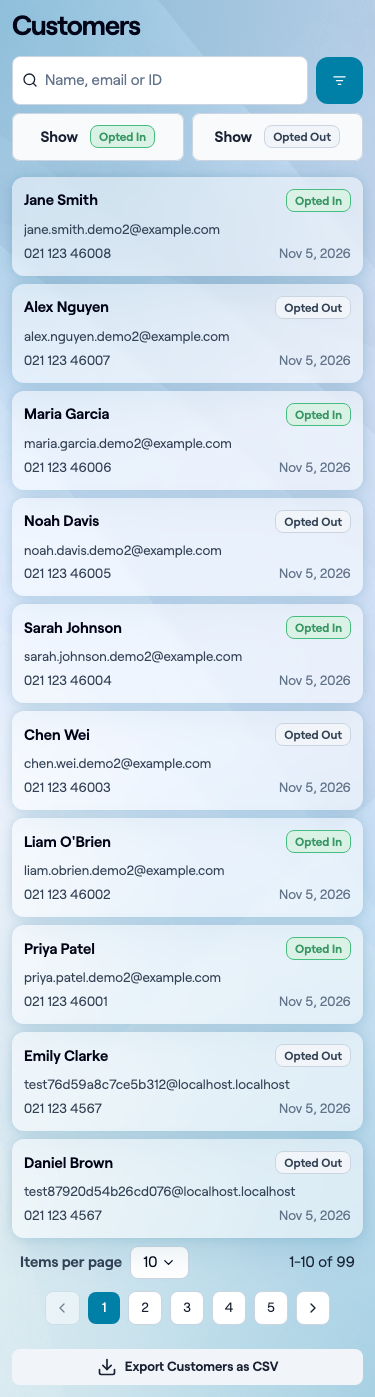
On a phone, each customer shows as a card with their name, marketing status, email, phone number, and signup date. On a tablet (and desktop Admin), this same information shows directly in a table, along with their ID and preferred language.
Note: The Marketing column shows Opted In or Opted Out based on whether the customer has agreed to receive marketing messages from you. This reflects their current preference, it isn't something you can change for them directly from the list, see "Updating marketing preferences" below for where that's actually edited.
Expected result: a list of your customers, matching any search or filters you've applied, which you can look through or export.
Narrowing down the list
On a phone, select the filter icon next to the search field to open filtering options:
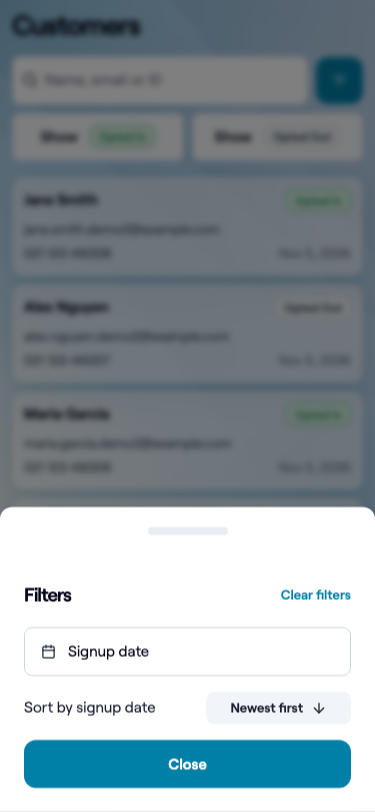
On a tablet or desktop Admin, the same options show directly on the page, there's no separate filter panel to open.
Either way, you can:
- Search by name, email, or ID.
- Filter to a signup date range.
- Show only customers who are Opted In or Opted Out of marketing.
- Sort by signup date, newest or oldest first.
On a phone, use Clear filters in the filter panel to reset everything. On a tablet or desktop Admin, clear a filter by clearing its field directly, or sort by selecting the Signup Date column header.
Updating marketing preferences
Selecting a customer opens their details, including their email and SMS marketing preferences as switches you can turn on or off. This updates their subscription status immediately, it's the same action as the customer opting in or out themselves.
Note: this detail view is currently not working correctly in our local test environment, so a screenshot isn't included here. This section is written from the real underlying code, but hasn't been visually confirmed, flagging this so it can be checked before relying on it.
Exporting your customer data
Select Export Customers as CSV. This exports whatever your current search and filters show, not your whole customer list, if you want everyone, clear your filters first. The file is emailed to you.
Things to know
- The customer list and export always reflect whatever search and filters are currently applied, double check you've cleared filters if you want your complete customer list.
- Updating a customer's marketing preference from here takes effect immediately, there's no separate confirmation step.
- Customers are shared across your whole business, not scoped to a single location.
Need help?
Submit a support request: https://help.mobihq.com/kb-tickets/new